How to Clean Audio for Music Lesson Videos
How to clean audio for music lesson videos in Veena: separate your voice from your instrument, remove noise, level talking and playing, export MP4. Free.
How do I clean audio for music lesson videos?
To clean audio for music lesson videos, import the lesson into Veena, separate the sound from the picture, split your voice and your instrument onto their own tracks, clean the voice, level the talking against the playing, master gently and export an MP4. Your students hear every word and every note, and the video looks exactly as you filmed it. Free, in your browser.
Veena is an AI DAW with a personal music producer built in. Describe the song you want and CoProducer builds it with you — beats, chords, melody, arrangement and mix — as real tracks you can edit, mix and export. Free, in your browser.
Lesson videos carry two jobs in one recording. In one moment you are a presenter talking to camera, and in the next you are a musician demonstrating a passage. The microphone treats both the same way, so the explanation comes out quiet and roomy, the demonstration comes out loud, and the fan in the corner runs under all of it. Students forgive a lot in a lesson, but they stop watching when they have to keep reaching for the volume.
What a lesson video's audio needs
- Speech that is clear at any volume. The explanation is the lesson. Every word should land on laptop speakers as well as headphones.
- An instrument that sounds like the instrument. A student copying a technique needs to hear the attack, the tone and the timing as they are, without heavy effects colouring them.
- Even levels between talking and playing. Nobody should need to turn up for the explanation and down for the demonstration.
- A quiet floor. Fans, computers and traffic pull attention away from the detail you are teaching.
Clean audio for music lesson videos in Veena, step by step
- Import the lesson. Drag the video onto the arrangement or press Upload. Veena reads MP4, M4V, MOV, WebM, MKV and AVI.
- Separate Audio. Right-click the video clip and choose Separate Audio, and the sound becomes an editable clip under the picture.
- Split voice from instrument. Stop playback, right-click the audio and choose Separate into Stems. Your voice lands on the vocals stem. Guitar, piano and other melodic instruments land on the other stem; a bass lesson puts the instrument on the bass stem, and a drum lesson on the drums stem. Every stem stays lined up with the picture.
- Name the parts. Open Mix & Master. On Parts, tag your voice as Lead vocal and the instrument stem by what it is.
- Clean the voice. On Clean, add Noise Removal for the steady background noise and De-Esser for harsh S sounds. Open the full FX rack and add a Compressor so quiet asides and emphatic points sit closer together.
- Keep the instrument honest. Open the instrument track's FX and add the 8-Band EQ only where it helps: cut low boom from an acoustic guitar or a piano close to the wall, and add a Filter to roll off rumble beneath the instrument's range.
- Choose a small space and AutoMix. On Mix, choose Dry or Ambience. Press AutoMix and Veena balances the parts across your editable tracks.
- Master gently. Pause, open Master and press Master project. Match EQ and Limiter land on the master bus. If the demonstrations start to sound squeezed, lower the Limiter's drive in Master FX.
- Export the MP4. Avatar, Export, MP4: your lesson with its cleaned audio.
The clean up audio in a video page covers the method for every kind of raw video, and the audio editor page shows the editing tools in full.
Level talking against playing
Even after cleaning, a lesson often has two levels: the explanation and the demonstration. Fix it by section, not by guessing one setting for the whole video.
Turn on Toggle Split Mode with C and click the audio where you switch from talking to playing and back. Each piece is now its own clip with its own clip volume. Raise the quiet explanations, lower the loud strums, and play across each join to check it sounds natural. With split stems, you can also lower the instrument stem while you talk, so a guitar you keep strumming under your explanation does not compete with your words.
Teach with the timeline, too
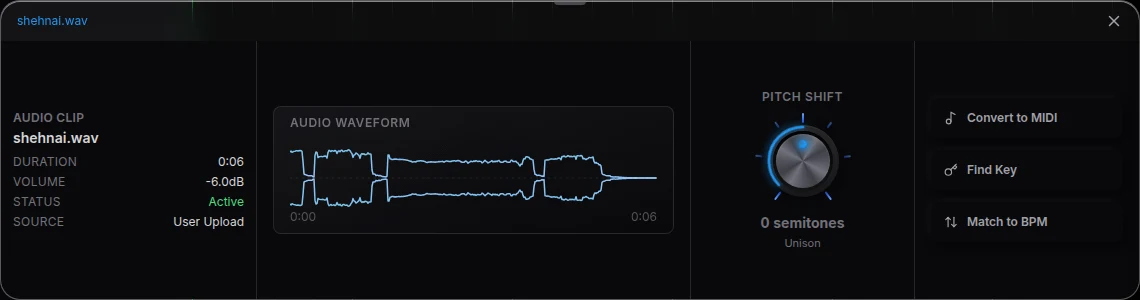
The tools that clean the audio also make teaching material. Select a passage of the instrument stem and loop it from the ruler to hear it repeatedly. In the Waveform panel, Match to BPM and the time-stretch on a clip's right edge slow or speed a demonstration while preserving its pitch, and Find Key shows the key of what you played. Export the instrument stem on its own as a WAV and students get a practice track without your voice over it.
Lessons by instrument
Every instrument has its own guide in this series. Guitar teachers should read mix a guitar playthrough video; drum teachers, mix a drum cover video; and anyone filming on a phone, improve phone video audio.
Hand it to CoProducer
Describe the lesson in producer terms: the instrument, the tempo and key of the demonstrations, how the voice should sound and how even the levels should be. CoProducer splits the recording and runs Mix & Master on your project, and every change stays editable.
Paste this into CoProducer:
"Clean up the audio in this guitar lesson video: I talk to camera, then demonstrate fingerpicked patterns at about 80 BPM in E minor. Split it into stems, tag my voice as Lead vocal with Noise Removal, De-Esser and a little compression so every word is clear, keep the guitar natural and clear its low boom around 200 Hz, use a Dry space so it sounds close, AutoMix, then master the project gently so talking and playing sit at a similar level."
Related reading: clean up audio in a video · improve phone video audio · mix a guitar playthrough video · remove background noise from video · audio editor
Try this in Veena
Clean up the audio in this guitar lesson video: I talk to camera, then demonstrate fingerpicked patterns at about 80 BPM in E minor. Split it into stems, tag my voice as Lead vocal with Noise Removal, De-Esser and a little compression so every word is clear, keep the guitar natural and clear its low boom around 200 Hz, use a Dry space so it sounds close, AutoMix, then master the project gently so talking and playing sit at a similar level.
Frequently asked questions
How do I clean audio for music lesson videos?
Import the lesson into Veena, right-click it to choose Separate Audio, then split the sound into stems so your voice and your instrument sit on separate tracks. Use Noise Removal and De-Esser on the voice, EQ on the instrument, a Dry space and AutoMix, then Master project. Export an MP4 and the lesson keeps its picture with clear, even sound.
How do I make talking and playing the same volume in a lesson?
Split the recording in Veena so the voice and the instrument have their own faders, then press C for split mode and cut the clips where you switch from explaining to playing. Each piece has its own clip volume, so you can raise a quiet explanation or lower a loud strum. A Compressor on the voice and Master project's Limiter even out the rest.
Can I remove background noise from a lesson video?
Yes. In Veena's Mix & Master flow, tag your voice as Lead vocal and add Noise Removal on the Clean stage to lower steady background noise such as a fan, a computer or room hiss. For low rumble, add a Filter or the 8-Band EQ to cut below your voice and instrument. Compare the effect on and off before exporting.
What space should I use for a lesson video's audio?
Use Dry or Ambience in Veena's Mix step. A lesson is close and personal, and students need to hear exactly what the instrument does, so heavy reverb gets in the way of both the explanation and the demonstration. Keep the space small, press AutoMix, and save the bigger spaces for a performance at the end of the lesson.
Can CoProducer clean my lesson audio?
Yes. Describe the lesson in plain English, such as 'clear voice, natural guitar, no echo, talking and playing at a similar level', and Veena's CoProducer splits the recording and runs the Mix & Master workflow on your project. Each change is an editable fader or effect card, so you can fine-tune it before exporting the MP4.
Meet your personal music producer
Free, in your browser. Describe the song you want and CoProducer builds it with you.
Make music free